There is a particular kind of quiet panic that sets in the week a nucleus colony is due to arrive. You have ordered the bees, you have a hive in the shed, and you have just realised you cannot find the smoker, the suit is a size too small and nobody has agreed where the hive is actually going to stand. The weeks before your first colony lands are the best time you will get to sort all of that out, while the only bees in your life are the ones on the cover of a book.
Work through this list at whatever pace suits you. The aim is not a perfect apiary. It is a morning where nothing is missing and nothing is a surprise.
Choose the site before you choose anything else
Where the hive stands is the decision you will live with for years, and it is the one beginners rush. Bees cope with a lot, but they do not cope well with a cold, damp corner that never sees the sun, or with a flight path straight across a neighbour's patio.
Walk your garden or plot at different times of day. You are looking for a level, well-drained spot, ideally with morning sun to get the colony flying early and some dappled shade through the hottest part of a summer afternoon. A hedge, fence or wall about two metres away gives shelter from prevailing wind without blocking the light. Avoid hollows where frost settles and anywhere that floods in winter.
- A stand that is level and sturdy — blocks, sleepers or a pallet. Hives on bare grass rot and sink.
- Room to stand behind the hive and work comfortably, with space for a spare box beside it.
- Away from footpaths, gates, boundaries and anywhere children play.
- A flight path that lifts over a hedge or fence rather than crossing a doorway or washing line.
- Water within easy reach: a shallow tray with pebbles, stones or corks so bees can drink without drowning. If you have a pond, make sure one edge slopes gently.
The hive, plus everything that does not come in the box
A hive is rarely a single purchase. Decide on a format before you buy — National, 14x12 and Langstroth are the common choices in the UK — and buy the same format from then on, because parts are not interchangeable. Ask the supplier what you are actually getting, and whether frames and foundation are included. They often are not.
By the time your bees arrive you want a complete, assembled, painted hive standing on its stand, plus a few spares. A spare brood box and a spare nucleus box are not luxuries; they are what you will reach for when the colony decides to swarm in June and you have nowhere to put the swarm.
What is usually arriving
Most beginners in the UK start with a nucleus — typically five frames of bees, brood and stores in a travelling box. Ask your supplier how many frames, what format and when. Have the brood box ready with the same number of frames in place so you can transfer them straight across, and have a feeder filled and waiting beside the hive.
Protective clothing you will actually wear
Buy the best suit you can justify and make sure it fits. A veil that sits too close to your face, or a suit baggy enough that bees crawl up inside it, will ruin your confidence in a single afternoon.
A full suit with a fencing-style veil is the usual choice, with wellington boots and trousers tucked in or taped at the cuff. Two pairs of gloves is sensible — thin nitrile or washing-up gloves for gentle work, heavier gauntlets for the first few inspections. Keep a spare veil for a visitor, and wash the suit now and then rather than leaving it stiff with propolis in a hot shed.
Tools: the short list
- A hive tool. The J-hook type is the one most beekeepers reach for first.
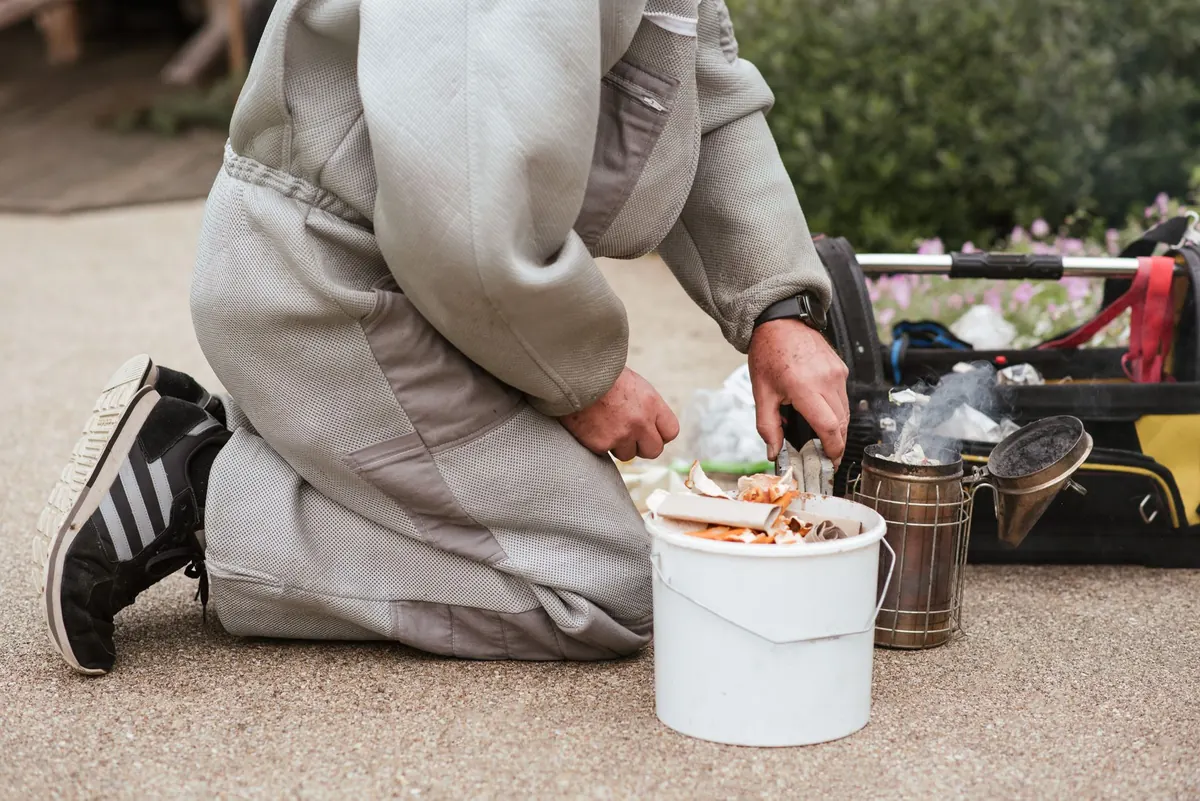
- A smoker that lights and stays lit, plus fuel — dried grass, hessian or wood pellets — and a decent lighter.
- A bee brush or a goose feather for moving bees gently off comb.
- A queen marking pen and a marking cage, for when you eventually find her.
- Something to rest frames on: a spare stand, an upturned roof or a frame perch. Never put brood comb on the ground.
- A lidded bucket for wax scraps and brace comb, and a tub for anything you cut out.
- A notebook, a pencil and a simple record sheet. Date, weather, temperament, brood pattern, stores, queen seen or not. You will forget by next week.
Feed, water and a plan for varroa
Keep white granulated sugar in the cupboard and a spare feeder on the shelf. Thin syrup in spring encourages comb drawing; thicker syrup or fondant carries a colony through autumn and winter. Never feed honey from an unknown source, and never use brown sugar. Your water source should be filled and working before the bees arrive, not after your first complaint.
Varroa management needs a plan rather than a panic. Learn to monitor the mite load, decide what you will do if the count is high, and follow the product label exactly. Your local association and an experienced mentor are the right people to talk this through with, and their advice will be specific to your area and season. If anyone in the household has had a serious reaction to a sting before, speak to a medical professional before the bees arrive rather than afterwards.
Neighbours, rules and a little paperwork
Tell the people next door before the bees arrive, not the week after. Most objections disappear when someone understands where the hives are, that the flight path is above head height and that a jar of honey is coming their way.
Check what applies to you: tenancy agreements, allotment rules, and any covenants on the property. Registering your apiary on BeeBase, the National Bee Unit's voluntary register, is worth doing, and there are legal duties around reporting suspected notifiable pests and diseases. Guidance changes, so check the current official advice yourself. Many local association memberships include public liability insurance — check exactly what is covered before you assume it is. This is general information, not legal advice.
The two-week countdown
- Two to four weeks out: join the local association and ask about a mentor. Assemble and paint the hive. Site the stand.
- Two weeks out: check every frame, feeder and tool. Light the smoker and practise keeping it going.
- One week out: fill the water station, cut the grass around the hive, and write your first inspection sheet.
- The day before: lay everything out in one place. Suit, gloves, boots, hive tool, smoker, fuel, lighter, feeder, syrup, notebook.
The morning they arrive
Get suited before you touch the travelling box. Light the smoker and let it settle. Work calmly and slowly, transfer the frames in the same order they came, close up, and leave them alone. Resist the urge to open the hive for a few days — the colony needs to settle and orientate, and every unnecessary inspection sets them back.
Your first proper look can wait for a warm, still afternoon with the sun on the entrance. Take your time, take notes, and enjoy it. A little preparation now buys you a first season spent learning about your bees instead of hunting for missing equipment.
Photo: Anete Lusina / Pexels